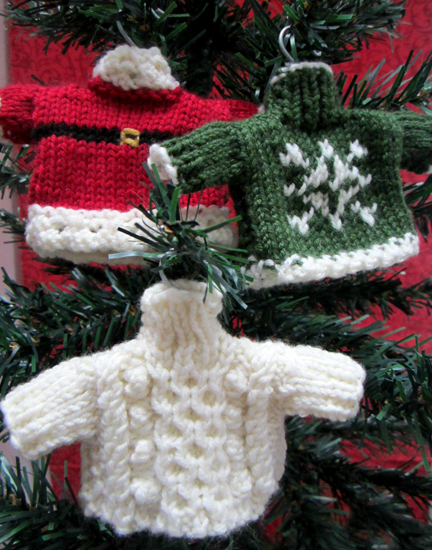
Today for the Advent Calendar I am responding to a special request for a bow tying tutorial from a regular reader which came about after the Day Twelve project, the tiny Christmas rings. These little bows are the ones I glue or sew on to projects, rather than for tying parcels or shoe laces.
As I started the photographs I realised that my lefthandedness might be a problem so I have flipped all the photos so it suits both left and right handed people. I’m just a slightly concerned about the reader who requested tutorial in the first place. Marigold is a goat… Does it work with hooves? I don’t think so, but hopefully she has a helpful human around to assist her!
I find it easier and more economical with the ribbon not to cut off a length but to leave it on the reel.
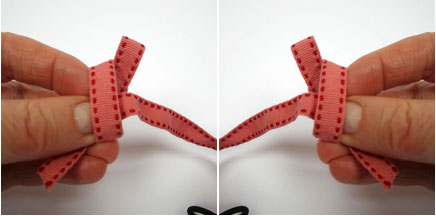
1. Make a loop at the end of the ribbon…
2. Bring the long end up in front and over to the back…
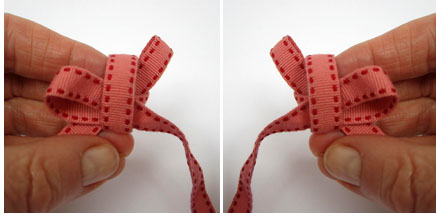
3. around the first loop then push a loop of the ribbon through the second loop formed by the thumb.
4. Pull through, and the bow is formed.
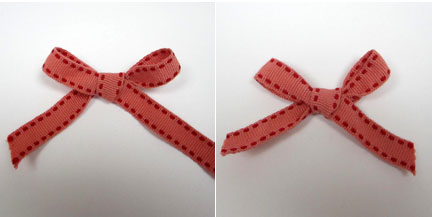
5. Carefully pull the loops to tighten the central knot to hold the loops then tweak and pull to make the loops your desired length, cut off from the reel and trim the tails.
I’ve seen ribbon bows for sale in packs of 10 or 12 in craft shops and they’re quite expensive. It bothered me for ages that whenever I tried to make my own I could never get two loops at the top and two tails at the bottom, they were always lopsided but now I’ve figured it out I buy my ribbon out of the remainder basket or in bulk and save some cash.
Now I hope you can too!
Good luck, Marigold, do let us know how you get on!


 Follow