Pattern for Crochet Fairy Lights
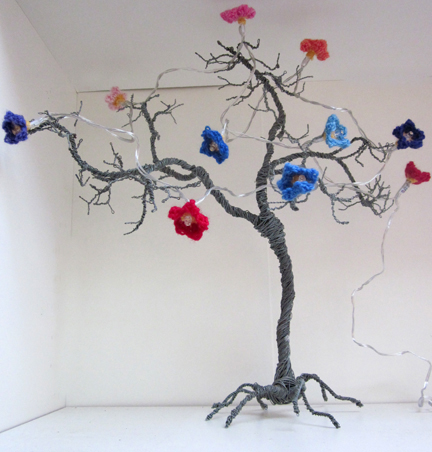
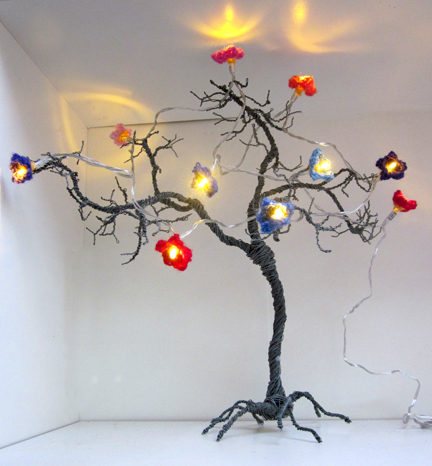
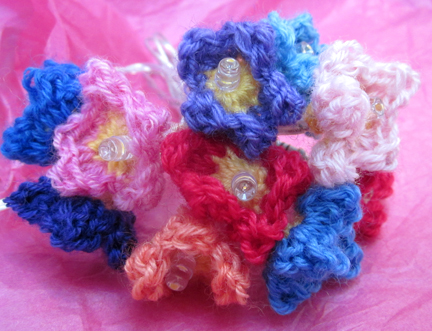
I used the 4 ply Blue Faced Leicester yarn which I had dyed, and a 3.5mm crochet hook. These particular fairy lights are a yellow white so I made the all centres of the flowers yellow and then used oddments of other colours for the petals.
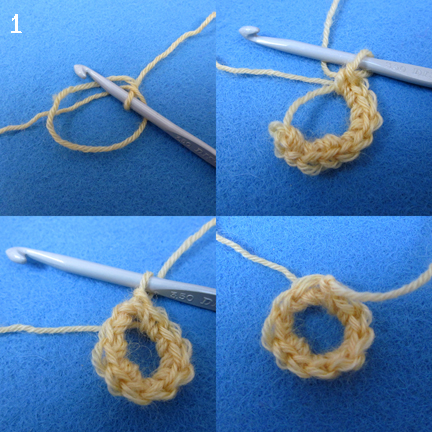
1)Start by making a ring with the yellow yarn and then work 10 dc into the ring, joining with a ss into the first dc. Cut the yellow yarn leaving a tail, about 4″ to 5″/ 100-110cm long which you’ll need to attach the flower to the lights.
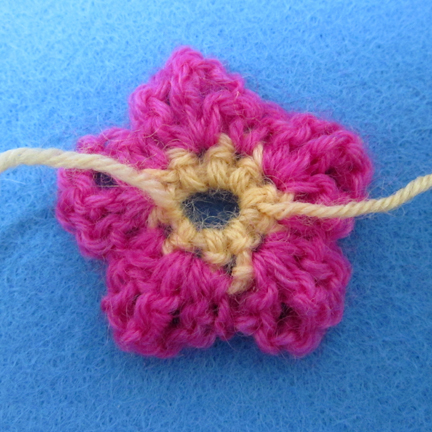
2) Using the 2nd colour make a dc into any dc in the ring. *Into the next dc work 1tr,1ch,1dtr,1ch, 1 tr, then work 1 dc into next dc, then rep from * 4 more times to make 5 petals. Finish with ss into 1st dc. Cut yarn, pull through loop.
Make enough flowers for your chosen set of lights, I’ve found them with 10 or 20 bulbs.
The trick to attaching them to the bulbs is in the two tails you have on the first ring. Thread the finishing tail through a few loops at the back so you have a tail at each side of the ring.
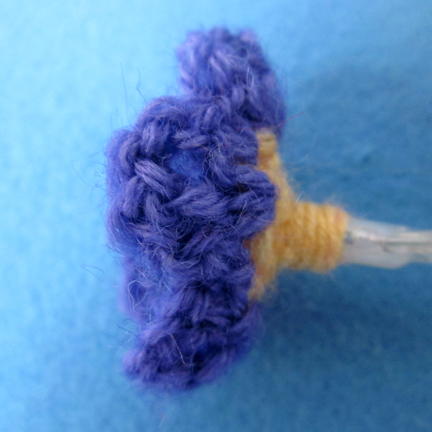
Feed the bulb through the hole in the centre and pull the tails to draw the hole in to fit snuggly round the bulb. Then knot the tails first one side then the other several times to make a base to the flower befor making a final knot.
I put a tiny spot of glue on the knot just to make sure it’s safe.
©Planet Penny 2012
This pattern is the intellectual property of Planet Penny.
It must not be copied or resold without permission of Planet Penny.
Products from this pattern are not to be made up for re-sale

 Follow
Pingback: Advent Calendar - Day Thirteen - planetpenny.co.uk | planetpenny.co.uk
What fun! How absolutely adorable! Thanks for all your patterns and inspiration!